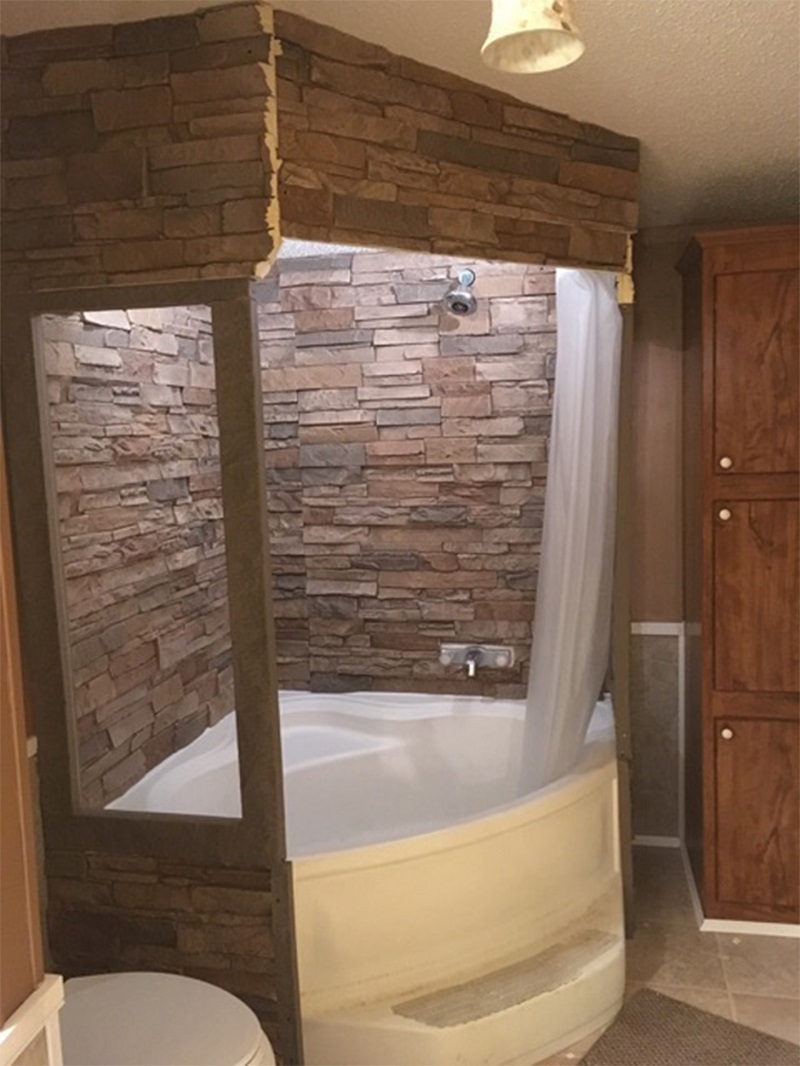
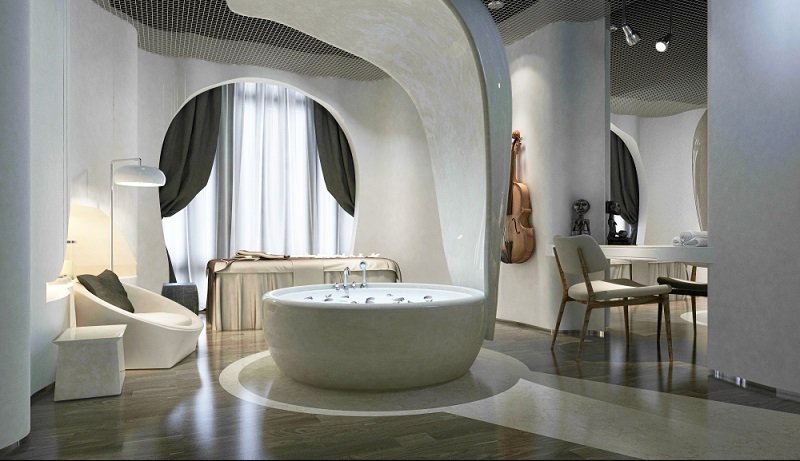
The spa can be a great way to recharge your batteries and relax, but it is not something that you can do every weekend or after you had a hard day at work and need to unwind. Many people have the desire to turn their bathrooms at home into a spa retreat, but it is not always easy to do, especially if you want to use natural stone.
Natural stone can give your bathroom the perfect ambiance of a spa, but its price is unrealistic for many homeowners. Simply getting the stone alone can set you back quite a bit. To install natural stone, you need to hire a mason and deal with the construction timelines; it is not a very DIY-friendly project. Plus, you will probably need to spend additional costs waterproofing the stone to ensure it does not get damaged by water.
There is one alternative to using natural stone that will give you the same aesthetic at a fraction of the price and is DIY friendly: GenStone. While faux stone is not a new concept, many people have shied away from it because the industry was flooded with low-quality products that were not durable at all and did not have the look or feel of natural stone. GenStone changed that by creating a durable product that has the same look and feel and is completely waterproof, so your home spa will not sustain water damage. Let’s take a look at how to install it and transform your bathroom into a private spa.
How to Transform Your Bathroom into a Spa

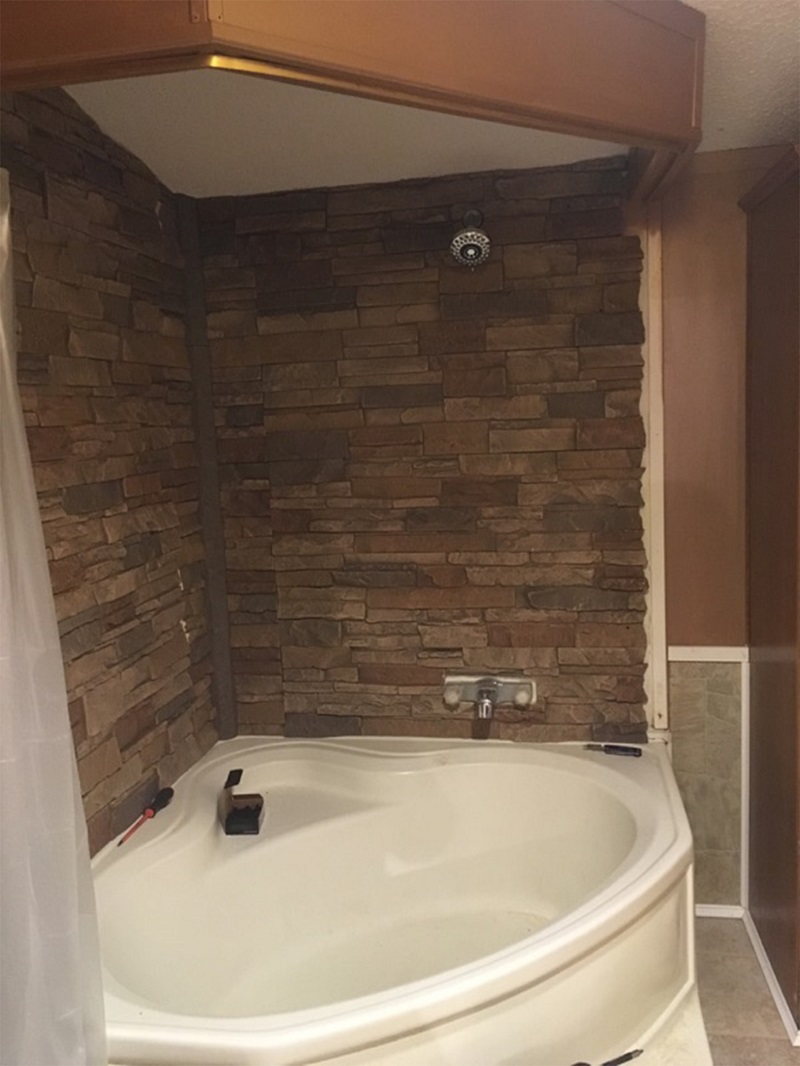
Installing this faux stone is easier than you may think. When you install natural stone, you have to rip your bathroom apart before you can even begin installation. With GenStone, you do not have to do that, making your bathroom renovations simple, and you can complete the project in a single weekend.
Step One: Measure
Once you have selected the stone veneer you want to use, measure the section of your bathroom that you intend to transform. Once you know how much you will need, you can order your stone.
Step Two: Prepare the Surface

If you have any tiles or adornments on the wall, you will need to remove them. You will also need to remove any fixtures beforehand. Make sure the surface is clean and dry before you get started.
Step Three: Install Panels

Install any corner pieces first. Since you are installing this in a bathroom, it is best to start at the left corner in the lowest spot and work your way up from there. Mark a vertical line on both sides of the corner just far enough away to be visible when test fitting panels. Use a level to make sure everything is straight and even before you add screws.
The panels interlock easily, making this a much quicker process. Once you have your test fits and everything is marked, measured, and adjusted, you can start installing it. You simply screw
them into the walls, spacing the screws about eight inches apart. The color matching caulk will camouflage the screws so that no one can see them.
After the Installation
Once the faux stone is installed, you can begin decorating your bathroom to make it feel more like a spa. Place candles throughout the room to give you a low-light ambiance. Add speakers or a stereo to the room to play your favorite relaxation music. Make the room feel like a private spa retreat that you will always leave feeling refreshed and rejuvenated!
About the Author:
 Auz Burger is a freelance writer who specializes in faux stone and brick veneer and home DIY projects. She has a BA from Washington State University and has been writing and editing professionally for 11 years.


